Installing eSIM(s) On An Apple iOS 17 Device Using A Photo From Your Gallery
With iOS 17 and above, it is now possible to install an eSIM using a QR code that is saved into your photos. This removes the requirement of needing a second device to display the QR code on.
To install your eSIM using a QR code from your photos, please see the following steps:
- Ensure that the QR code is saved to your photos.
- On your device, go to Settings.
- Go to Mobile Service or Cellular Service.
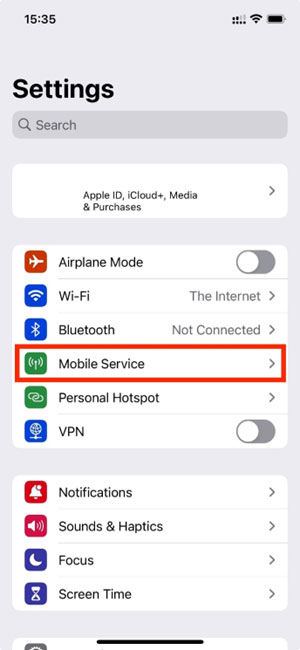
- Tap Add eSIM.
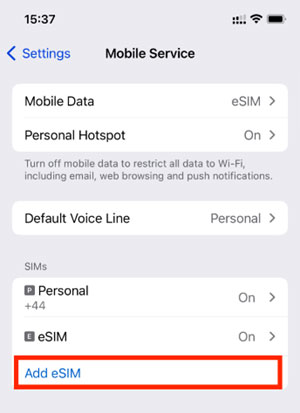
- Tap Use QR Code.
- Tap Open Photos.
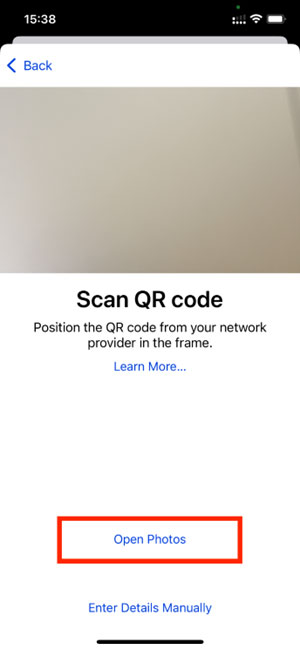
- Select the QR code that you saved previously.
- Tap Continue.
Note: Do NOT close this window else the installation may fail.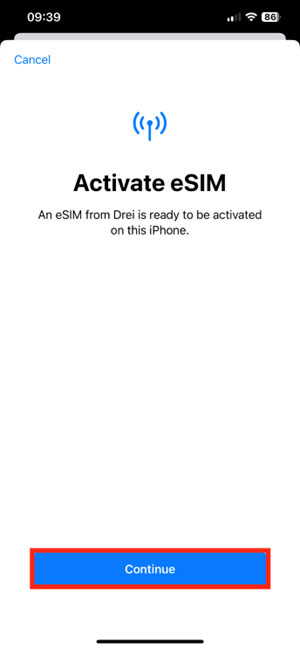
- Please allow up to 10 minutes for the eSIM to activate.
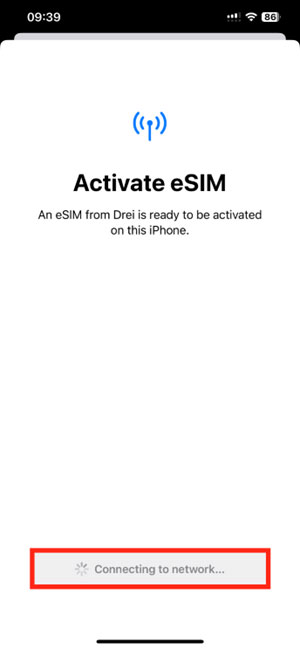
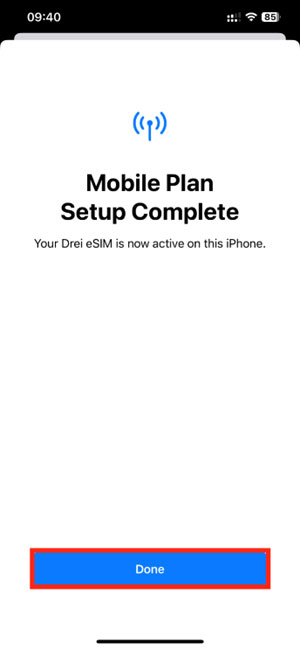
- Tap Done to complete the installation.
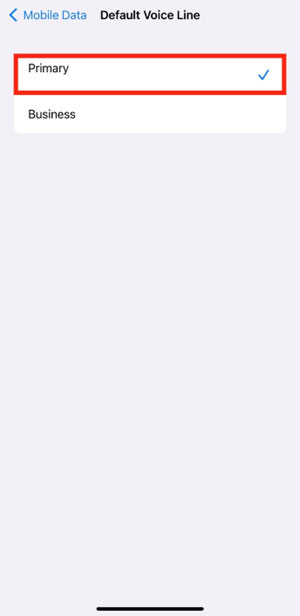
- Configure the following settings suggested below. Set Default Line to Primary Tap Continue.
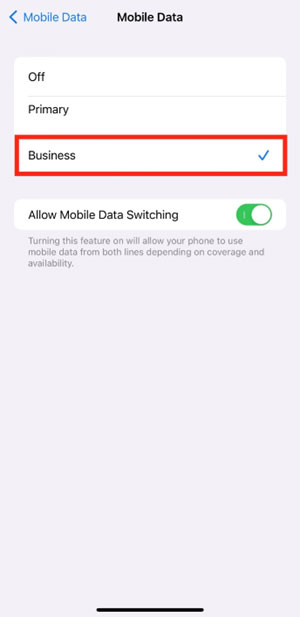
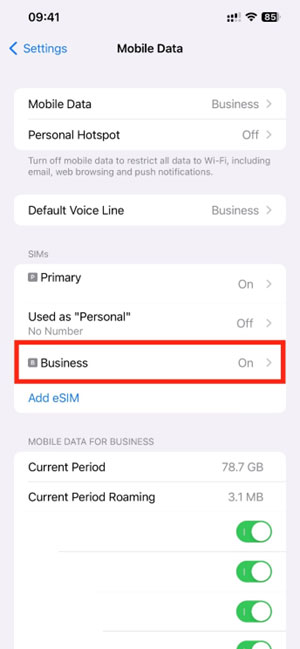
- Set Mobile Data to your chosen eSIM. As in the example below Business.
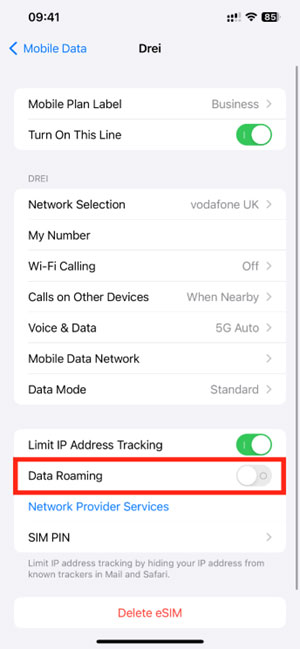
- Go back into Settings Tap Mobile Service or Cellular Service. Tap on the eSIM you want to check Data Roaming.
- Toggle the switch to On.
- The Data Roaming toggle should appear as below on the installed eSIM.
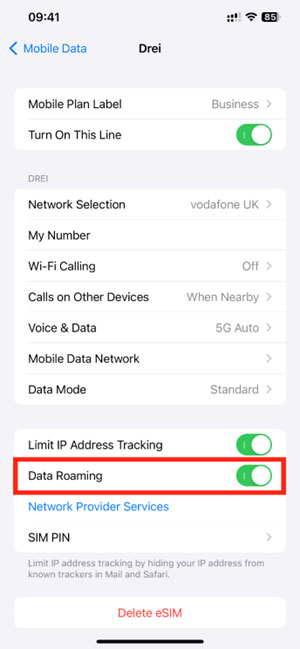
- The eSIM is now installed and set up.